description About
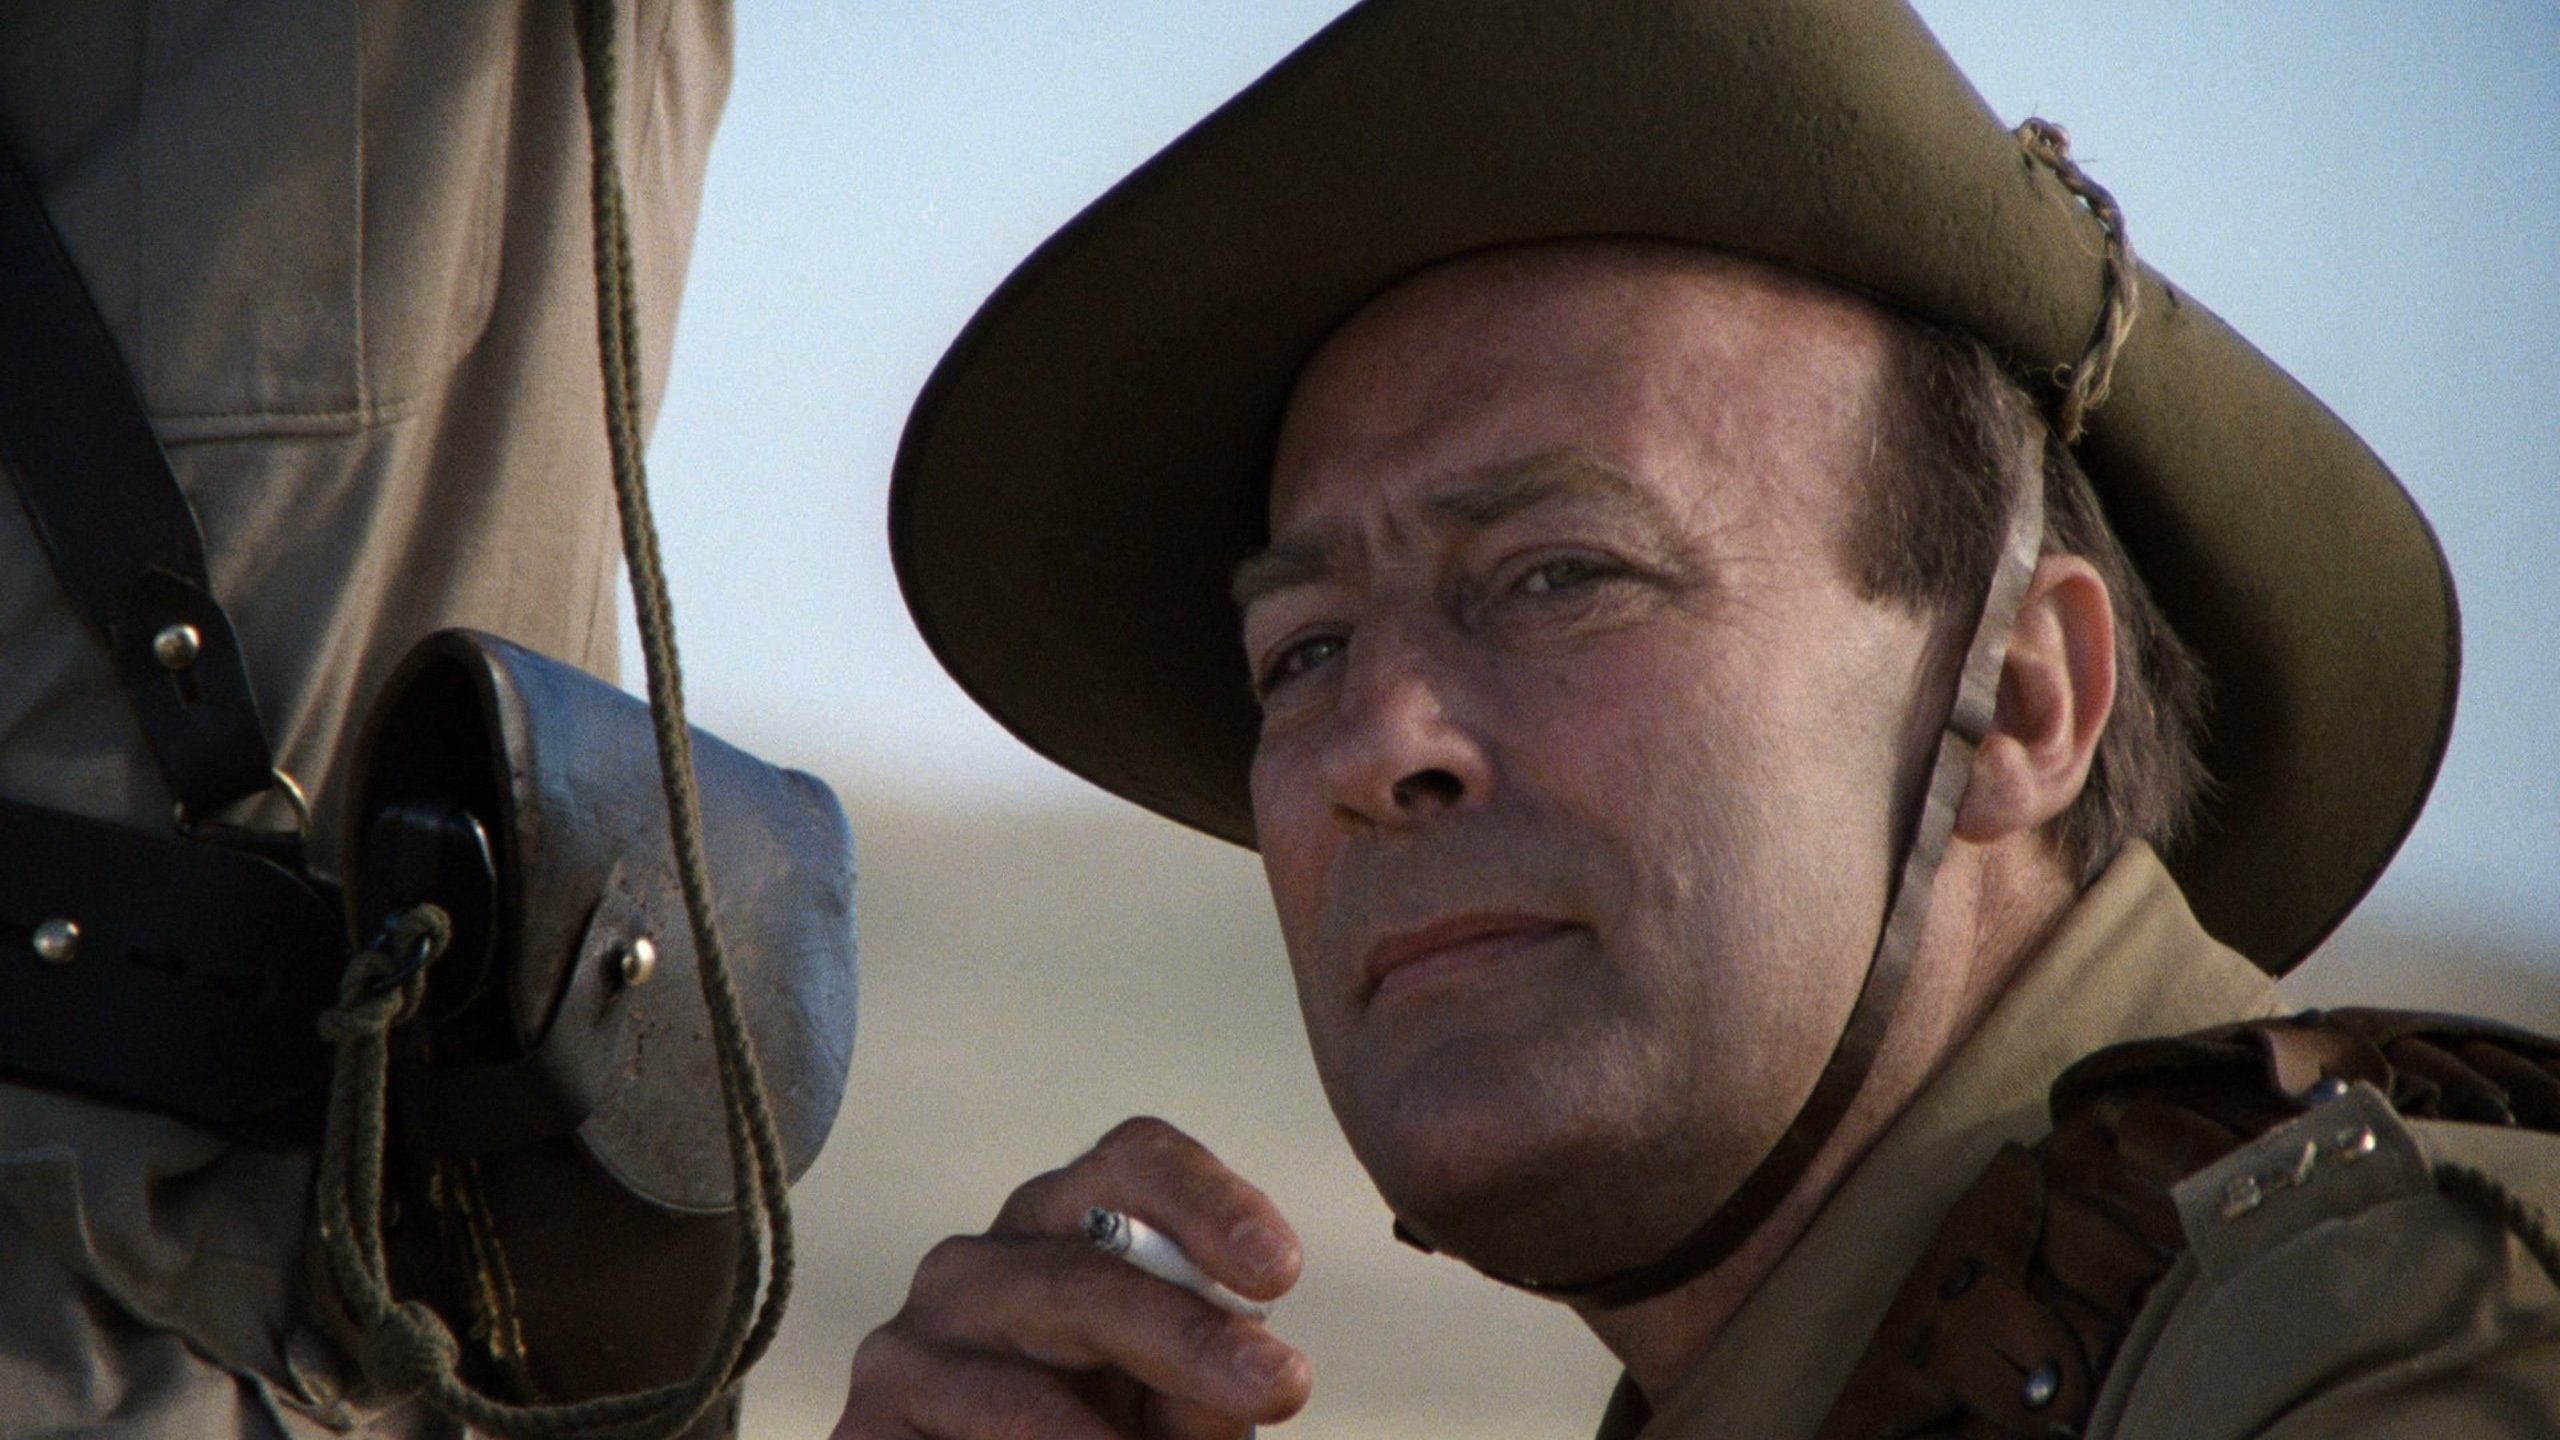
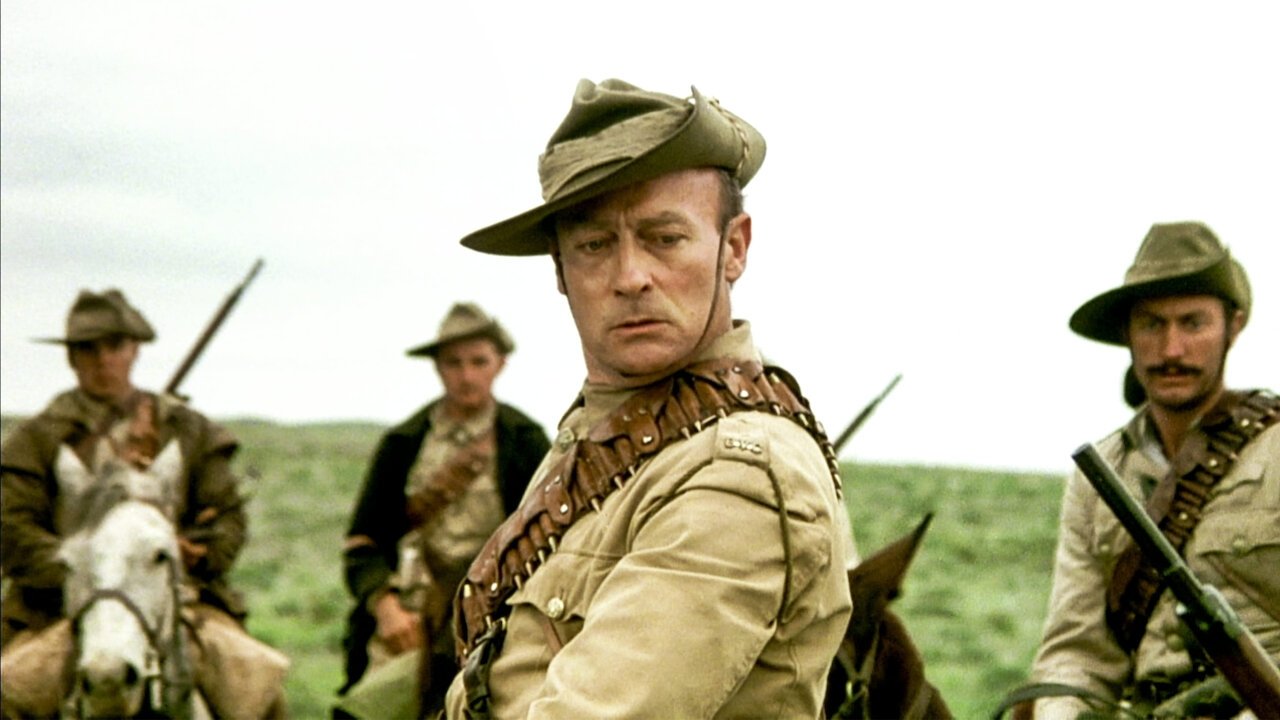
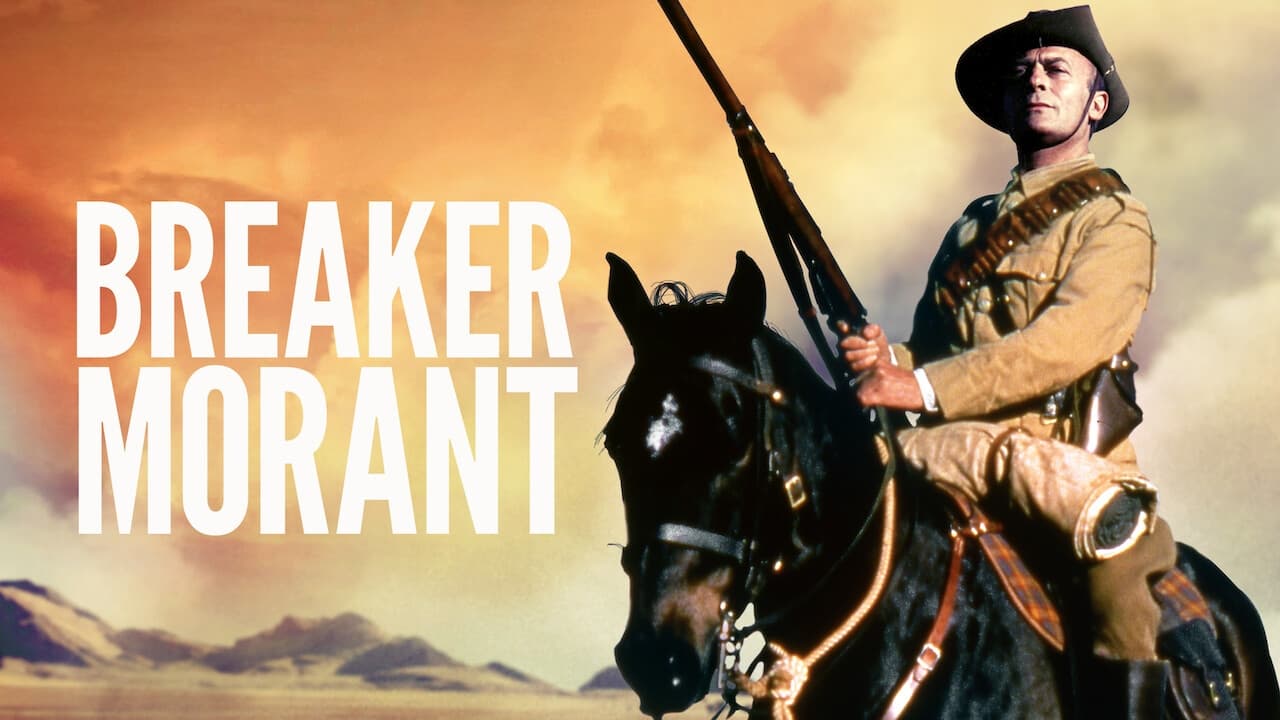
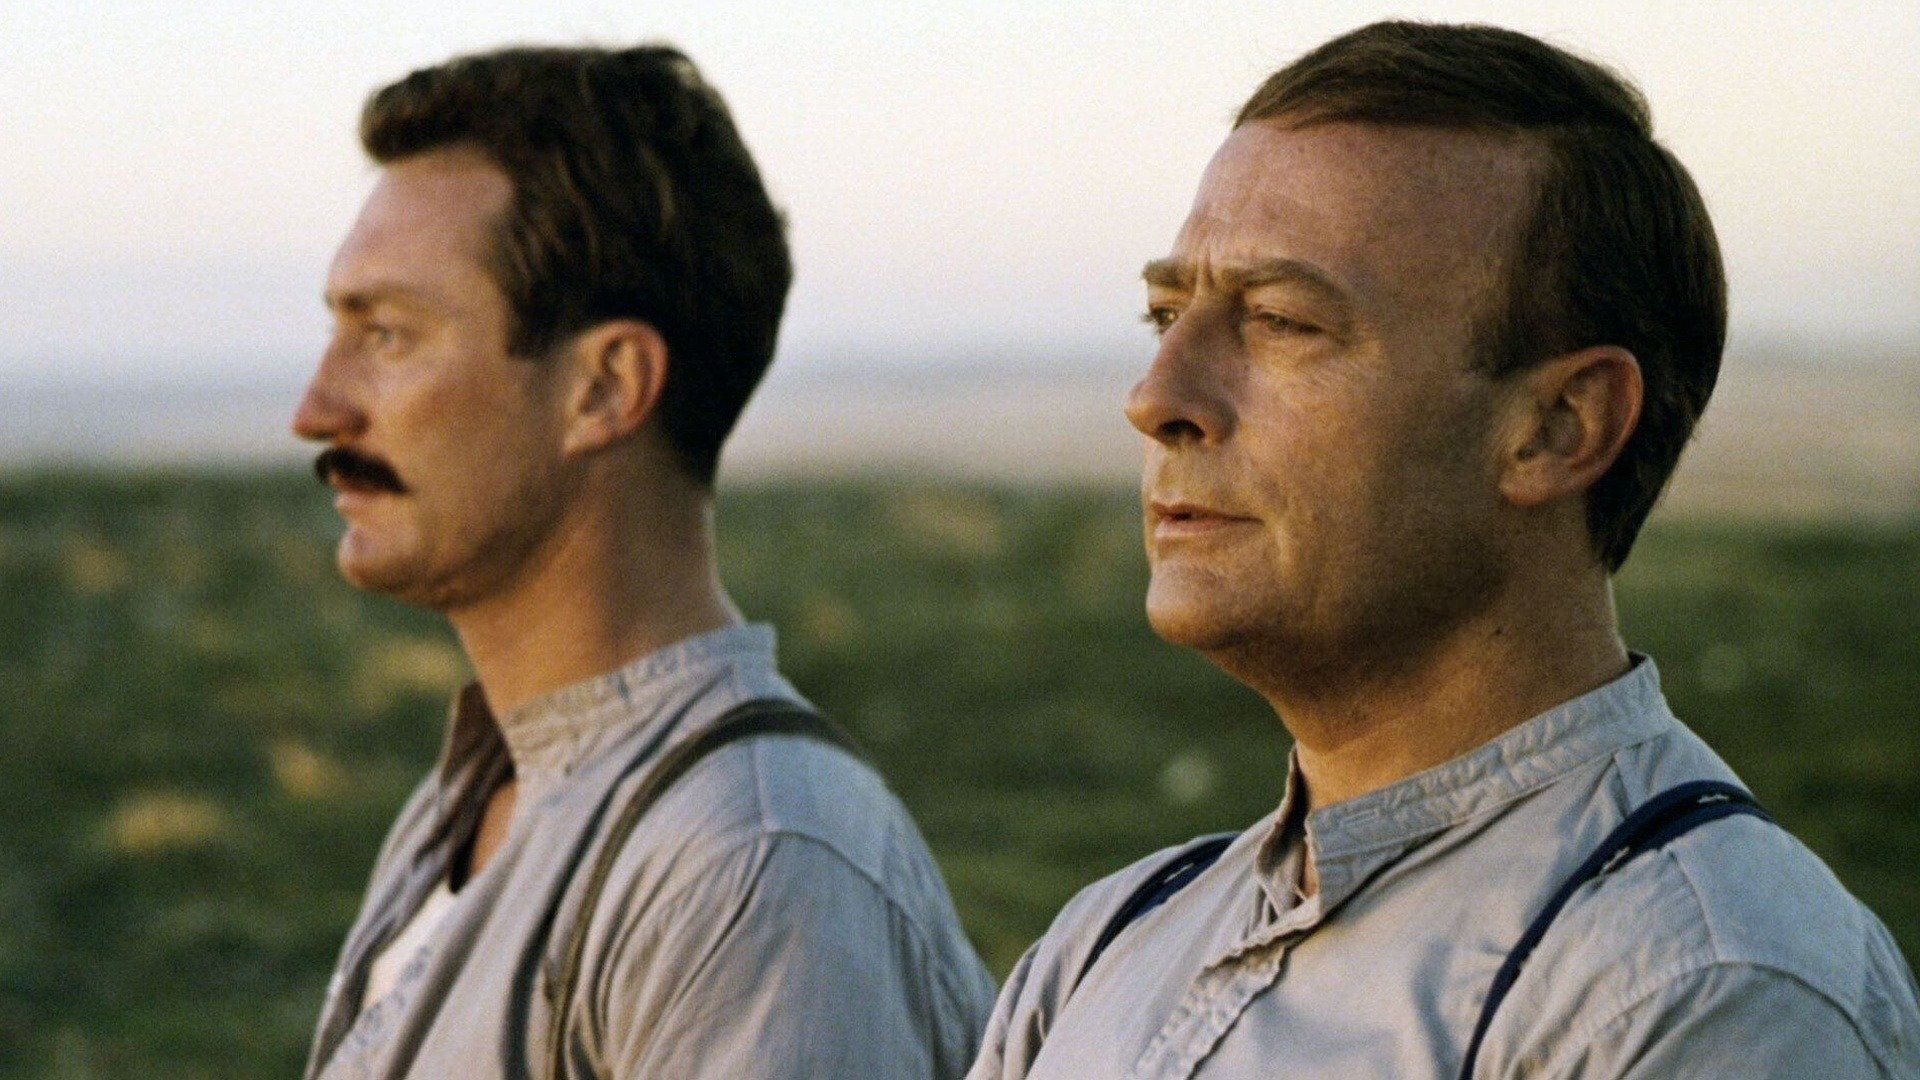
During the Boer War, three Australian lieutenants are on trial for shooting Boer prisoners. Though they acted under orders, they are being used as scapegoats by the General Staff, who hopes to distance themselves from the irregular practices of the war. The trial does not progress as smoothly as expected by the General Staff, as the defence puts up a strong fight in the courtroom.
Info
- verified Status: Released
- calendar_month Release Date: 1980-06-11
- video_camera_front Companies South Australian Film Corporation
- timer Runtime: 107 Mins
- star Rating: 7.1 / 10
- favorite Likes: 154 Likes
- info IMDB ID tt0080310
- visibilityViews: 8 views
-
starUser Ratings:
theaters Trailers
Other Videos
![BREAKER MORANT Original Trailer [1980] 4K](https://img.youtube.com/vi/yIItaUtWJnE/default.jpg)
BREAKER MORANT Original Trailer [1980] 4K
image Images


smart_display Cast
Edward Woodward
Harry 'Breaker' Morant

Jack Thompson
Major J.F. Thomas

John Waters
Cpt. Alfred Taylor

Bryan Brown
Lt. Peter Handcock

Charles Tingwell
Lt. Col. Denny

Terence Donovan
Cpt. Simon Hunt

Vincent Ball
Col. Ian (Johnny) Hamilton

Ray Meagher
Sar. Maj. Drummond

Chris Haywood
Cpl. Sharp

Russell Kiefel
Christiaan Botha

Lewis Fitz-Gerald
Lt. George Witton

Rod Mullinar
Major Charles Bolton

Alan Cassell
Lord Kitchener

Rob Steele
Cpt. Robertson

Chris Smith
Cameron Sargeant
Bruno Knez
Reverend Hesse
John Pfitzner
Boer Leader

Frank Wilson
Dr. Johnson
Michael Procanin
Visser
Ray Ball
Court Reporter
Wayne Bell
Lt. Reed
Halifa Cisse
Black Guide
Norman Currer
Boer Singer
Bridget Cornish
Hunt's Sister
Judy Dick
Mrs. Shiels
Barbara West
Mrs. Vanderberg
Ria Erskine
Boer Girl
Ian Gray
B/M Thomas
Sylvia Horseman
Boer Pianist
Dick Henderson
Cpt. Nicholson
Alan Lovett
Scots Sentry
Trevor Mann
B/M Little
Jon Nicholls
Lt. Baxter
Peter Osborn
Minister
Ron Peterson
Feist
Don Quin
Witton's Father
Maria Reed
Boer Girl
Ron Rodger
English Orderly
Nellie Seidel
Boer Girl
Laurie Walton
Judge Advocate
Hank Bernard
Large Boer
Elspeth Radford
Handcock's Wife
groups Crew
William M. Anderson
Editor
David Stevens
Screenplay
Matt Carroll
Producer
Alison Barrett
Casting
David Copping
Production Design

Bruce Beresford
Screenplay

Jonathan Hardy
Screenplay
Bruce Beresford
Director
Kenneth G. Ross
Theatre Play
Anna Senior
Costume Design
Peter Moss
Camera Operator
Colin Williams
Grip
Dennis Hunt
Stunts
H.H. Morant
Original Music Composer
Greg Smith
Stunts
Judy Lovell
Makeup Artist
Pamela H. Vanneck
Production Manager
Jim Townley
Still Photographer
Chris Murray
Special Effects
Phil Judd
Sound mixer
William M. Anderson
Sound Editor
Mike Giddens
Still Photographer
Rob Young
Gaffer
James Currie
Boom Operator
Phil Heywood
Sound mixer
Gary Wilkins
Sound Recordist
Mont Fieguth
Special Effects
Peter Richards
Still Photographer
Catherine Lamey
Hairstylist
Robin Morgan
Grip
Heath Harris
Stunt Coordinator
Heath Harris
Stunts
Bill Willoughby
Stunts
Catherine Lamey
Editor
Jim Willoughby
Stunts
Ruth De la Lande
Costume Design
Jeanine Chiavlo
Editor
Ross Erickson
Grip
Phil Cuneen
Music
Jenny Day
Location Manager

Donald McAlpine
Director of Photography
Kit Denton
Additional Writing
Catherine Murphy
Editor

comment Comments