
description About
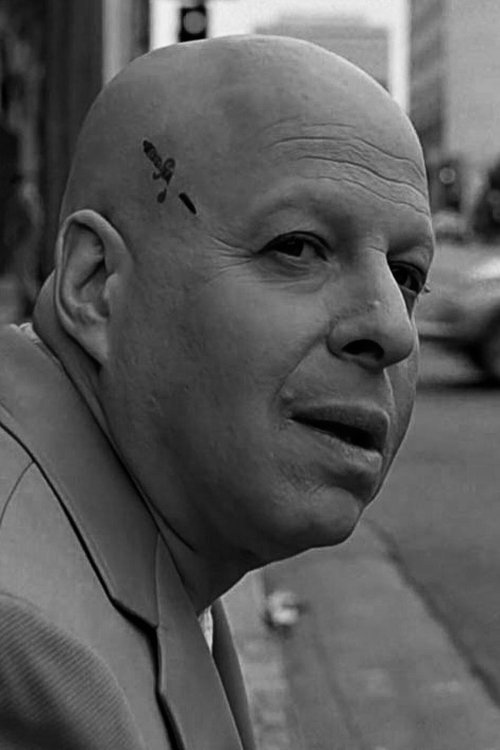
As the result of a head injury, brilliant computer scientist Harry Benson begins to experience violent seizures. In an attempt to control the seizures, Benson undergoes a new surgical procedure in which a microcomputer is inserted into his brain. The procedure is not entirely successful.
Info
- verified Status: Released
- calendar_month Release Date: 1974-06-19
- video_camera_front Companies Warner Bros. Pictures
- timer Runtime: 107 Mins
- star Rating: 5.4 / 10
- favorite Likes: 59 Likes
- info IMDB ID tt0072267
- visibilityViews: 30 views
-
starUser Ratings:
theaters Trailers
Other Videos
Arrow UHD Unboxing
Official Trailer
Trailer
smart_display Cast

George Segal
Harry Benson

Joan Hackett
Dr. Janet Ross

Richard Dysart
Dr. John Ellis

Donald Moffat
Dr. Arthur McPherson

Michael C. Gwynne
Dr. Robert Morris

William Hansen
Dr. Ezra Manon

Jill Clayburgh
Angela Black

Norman Burton
Det. Capt. Anders

James B. Sikking
Ralph Friedman

Matt Clark
Gerhard

Jim Antonio
Richards

Steve Kanaly
Edmonds

Al Checco
Farley

Gene Borkan
Benson's Guard

Burke Byrnes
Benson's Guard

Fred Sadoff
Police Doctor

Robert Ito
Anesthetist

Jason Wingreen
Instructor

Jack Colvin
Detective

Jordan Rhodes
First Questionnaire

Ian Wolfe
Priest
Dee Carroll
Night Nurse

Rutanya Alda
Nurse

Lee de Broux
Reporter

George Holmes
Reporter

Michael Jeffers
Reporter
Joe Pine
Reporter

Bob Harks
Orderly
Victor Argo
Orderly
Clark Ross
Orderly

Michael Santiago
Orderly
Nicholas Worth
Orderly
groups Crew

Michael Crichton
Novel

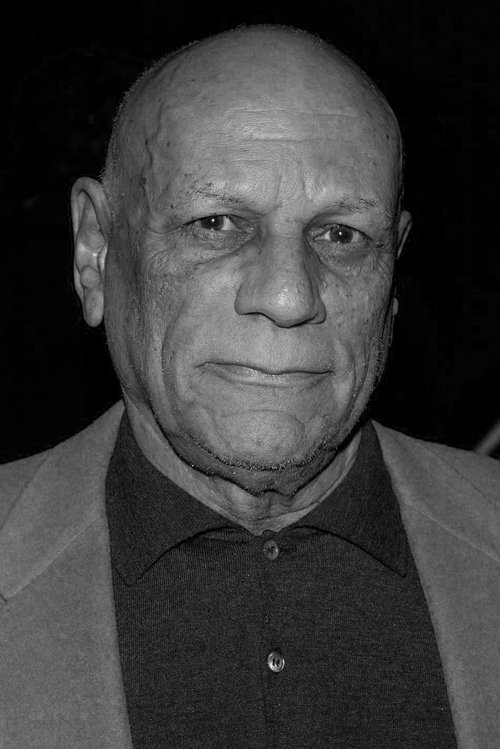
Mike Hodges
Director
Mike Hodges
Screenplay

Glenn Gould
Musician
Sherry Wilson
Hairstylist
Vittorio Nino Novarese
Costume Design
Michael Dryhurst
Associate Producer
Nessa Hyams
Casting
Marvin March
Set Decoration
Fred Williams
Makeup Artist
Robert L. Wolfe
Editor
Mike Hodges
Producer
Donald Brooks
Costume Design
Fred Harpman
Art Direction
Leo Lotito Jr.
Makeup Artist
Bruce Fowler Jr.
Production Manager
Margaret Tary
Script Supervisor
Richard H. Kline
Director of Photography
Harold Broner
Construction Coordinator

Loren Janes
Stunts
Wilbur Kinnett
Gaffer
Marty Wunderlich
Property Master
William Randall Jr.
Sound
Jim Martell
Extras Casting

Joel Cox
Assistant Editor
R. Anthony Brown
Location Manager
Dorothy Naja
Production Secretary
Willie Wiles
Assistant Property Master
Raul A. Bruce
Boom Operator
Glenn Dunn
Craft Service
Edna Taylor
Wardrobe Master
Dan Wallin
Scoring Mixer
Tye Osward
Wardrobe Master
Jeremy Hume
Assistant Editor
Ronald Vidor
First Assistant Camera
Ron Riner
Driver
Dick Moder
First Assistant Director
Herb Rindenow
Leadman
Charles Randall
Boom Operator
William Koselka
Technical Advisor
Edward Morey III
Second Assistant Camera
Mel Traxel
Still Photographer
Charles E. James
Wardrobe Master
Leonard S. Smith Jr.
Second Assistant Director
Douglas Pettibone
Special Effects
Albert Bettcher
Camera Operator
Kay Hoff
Production Secretary
Vernon White
Publicist
Nicholas Stevenson
Sound Editor
Hugh Strain
Sound Mixer
Kenneth Adams
Key Grip
Al Baerthlin
Assistant Camera
Robert Dijoux
Second Assistant Director


comment Comments