description About
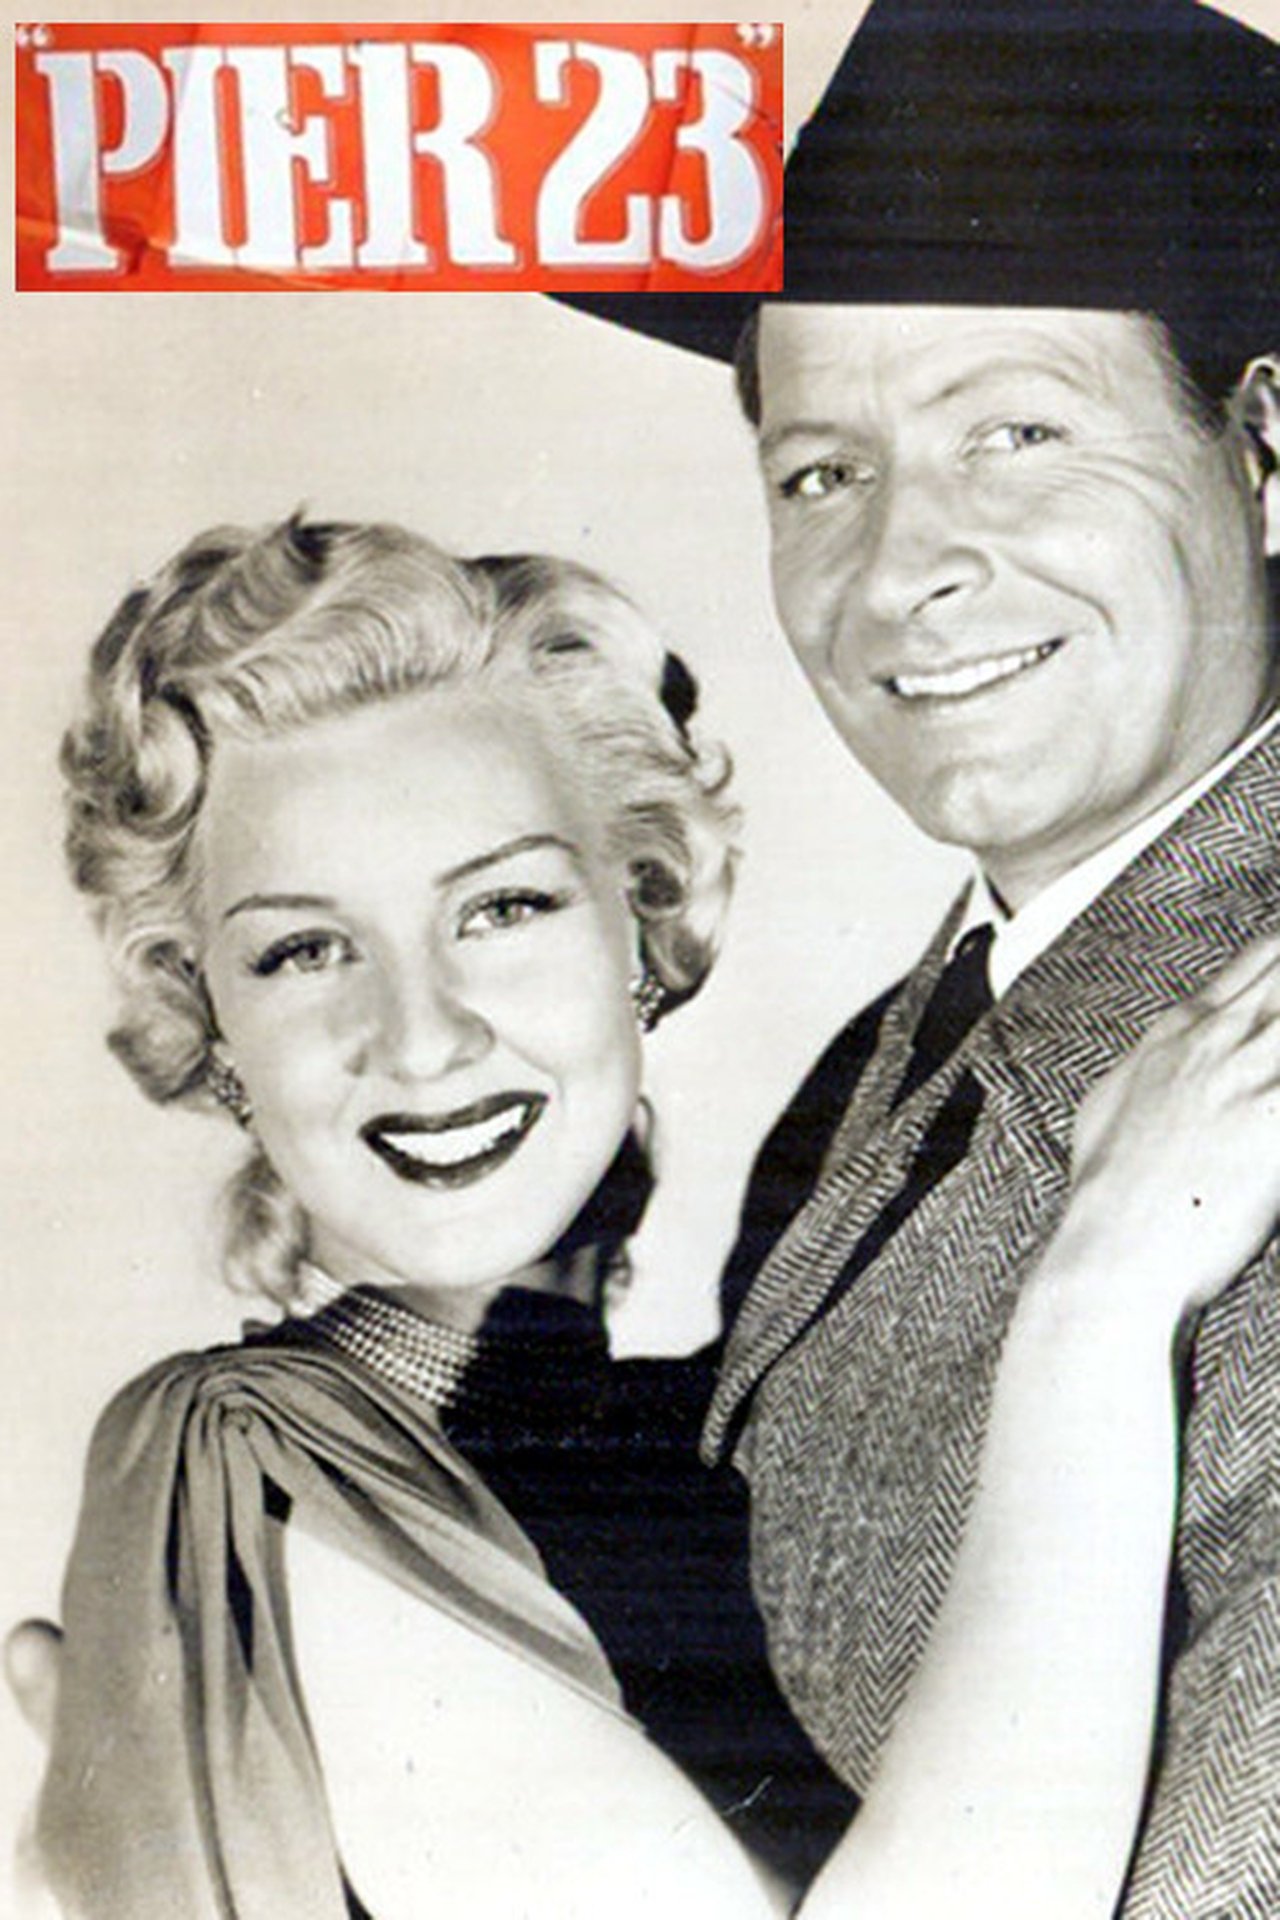
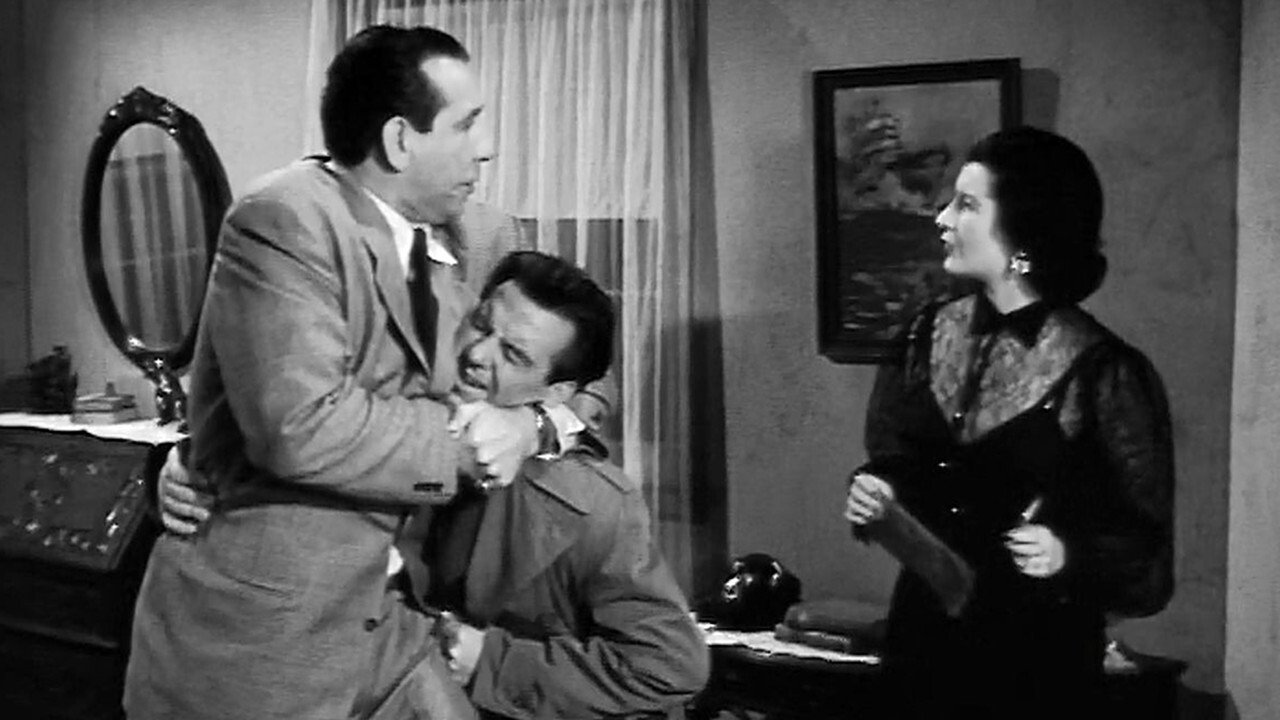
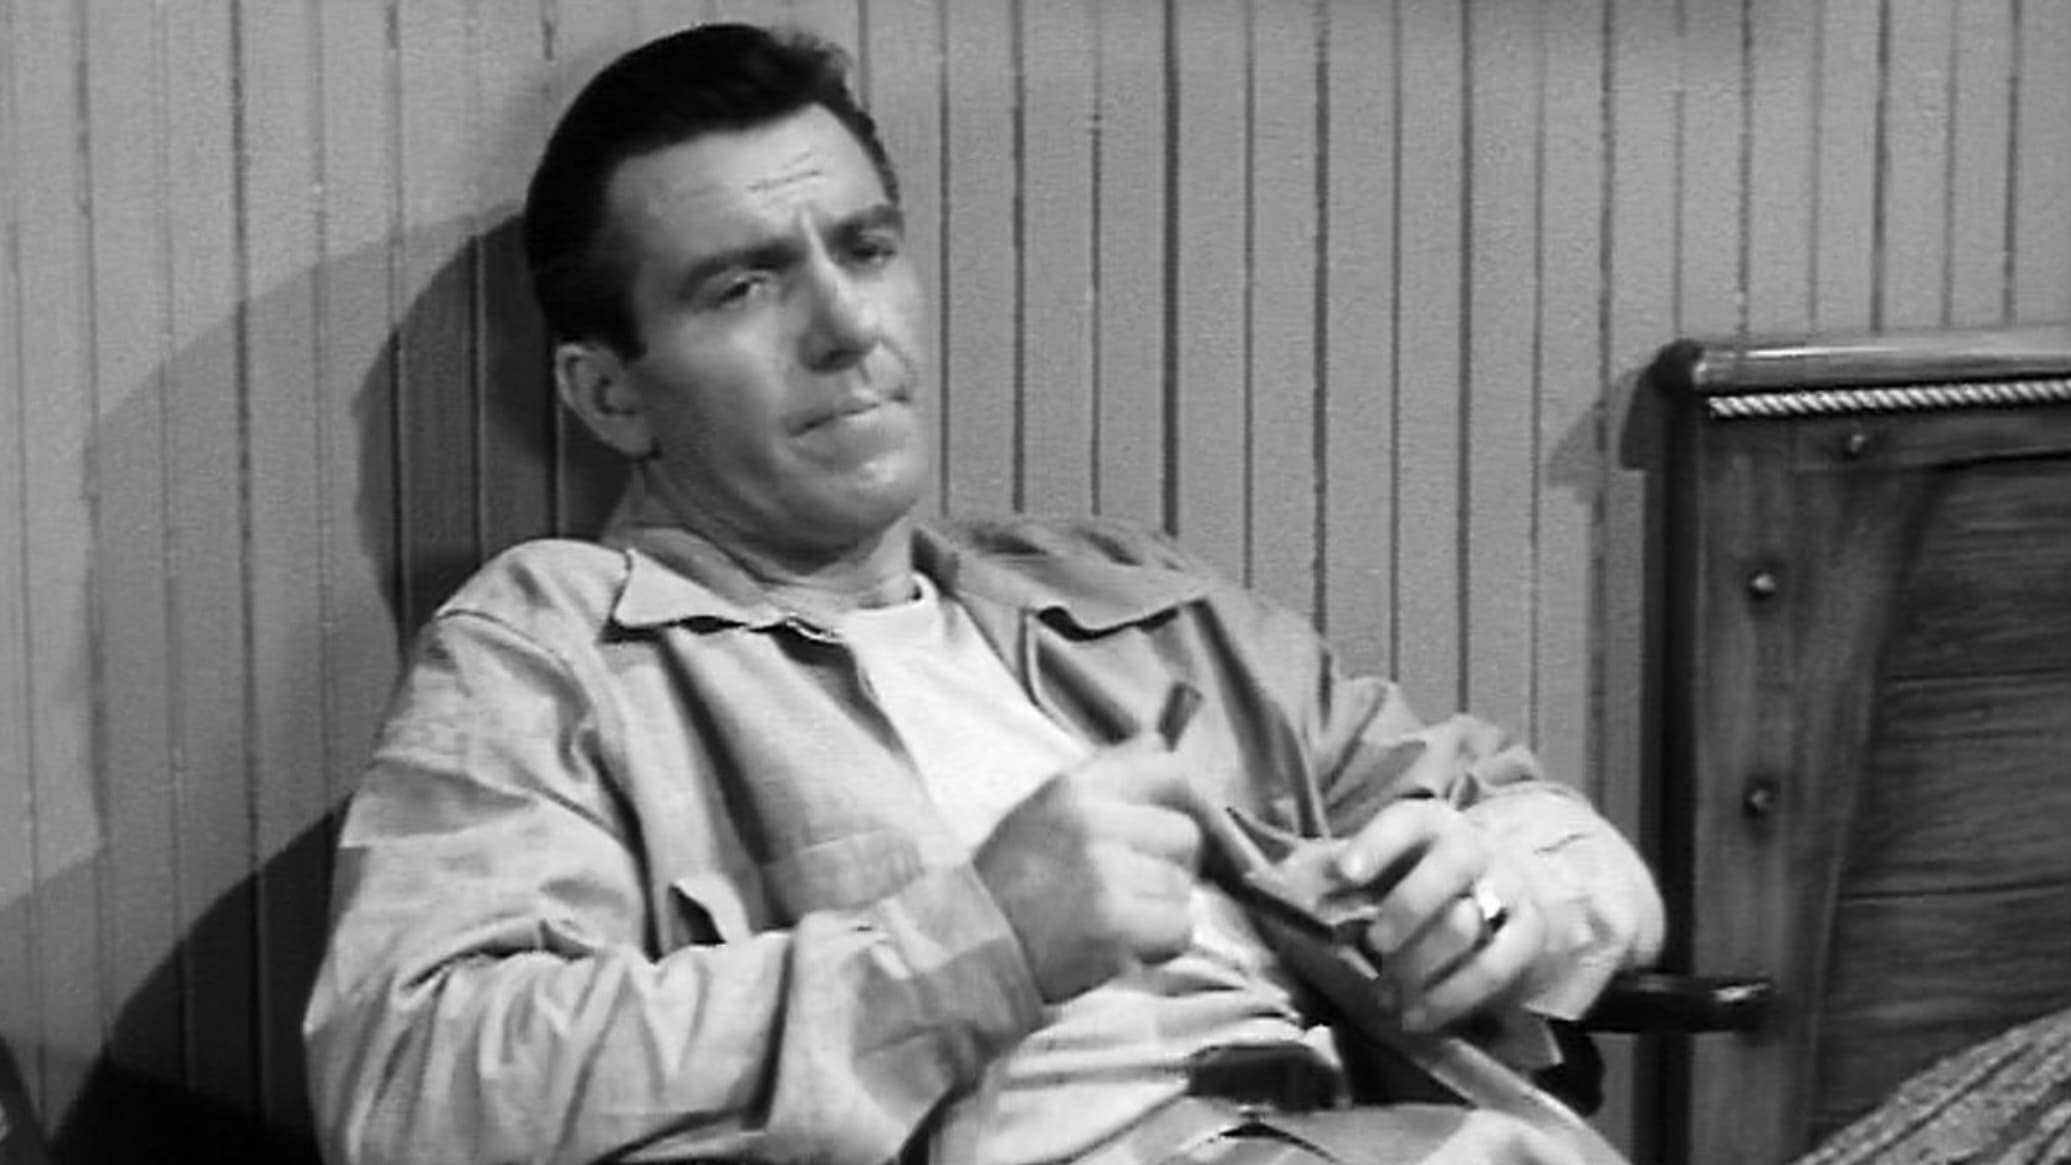
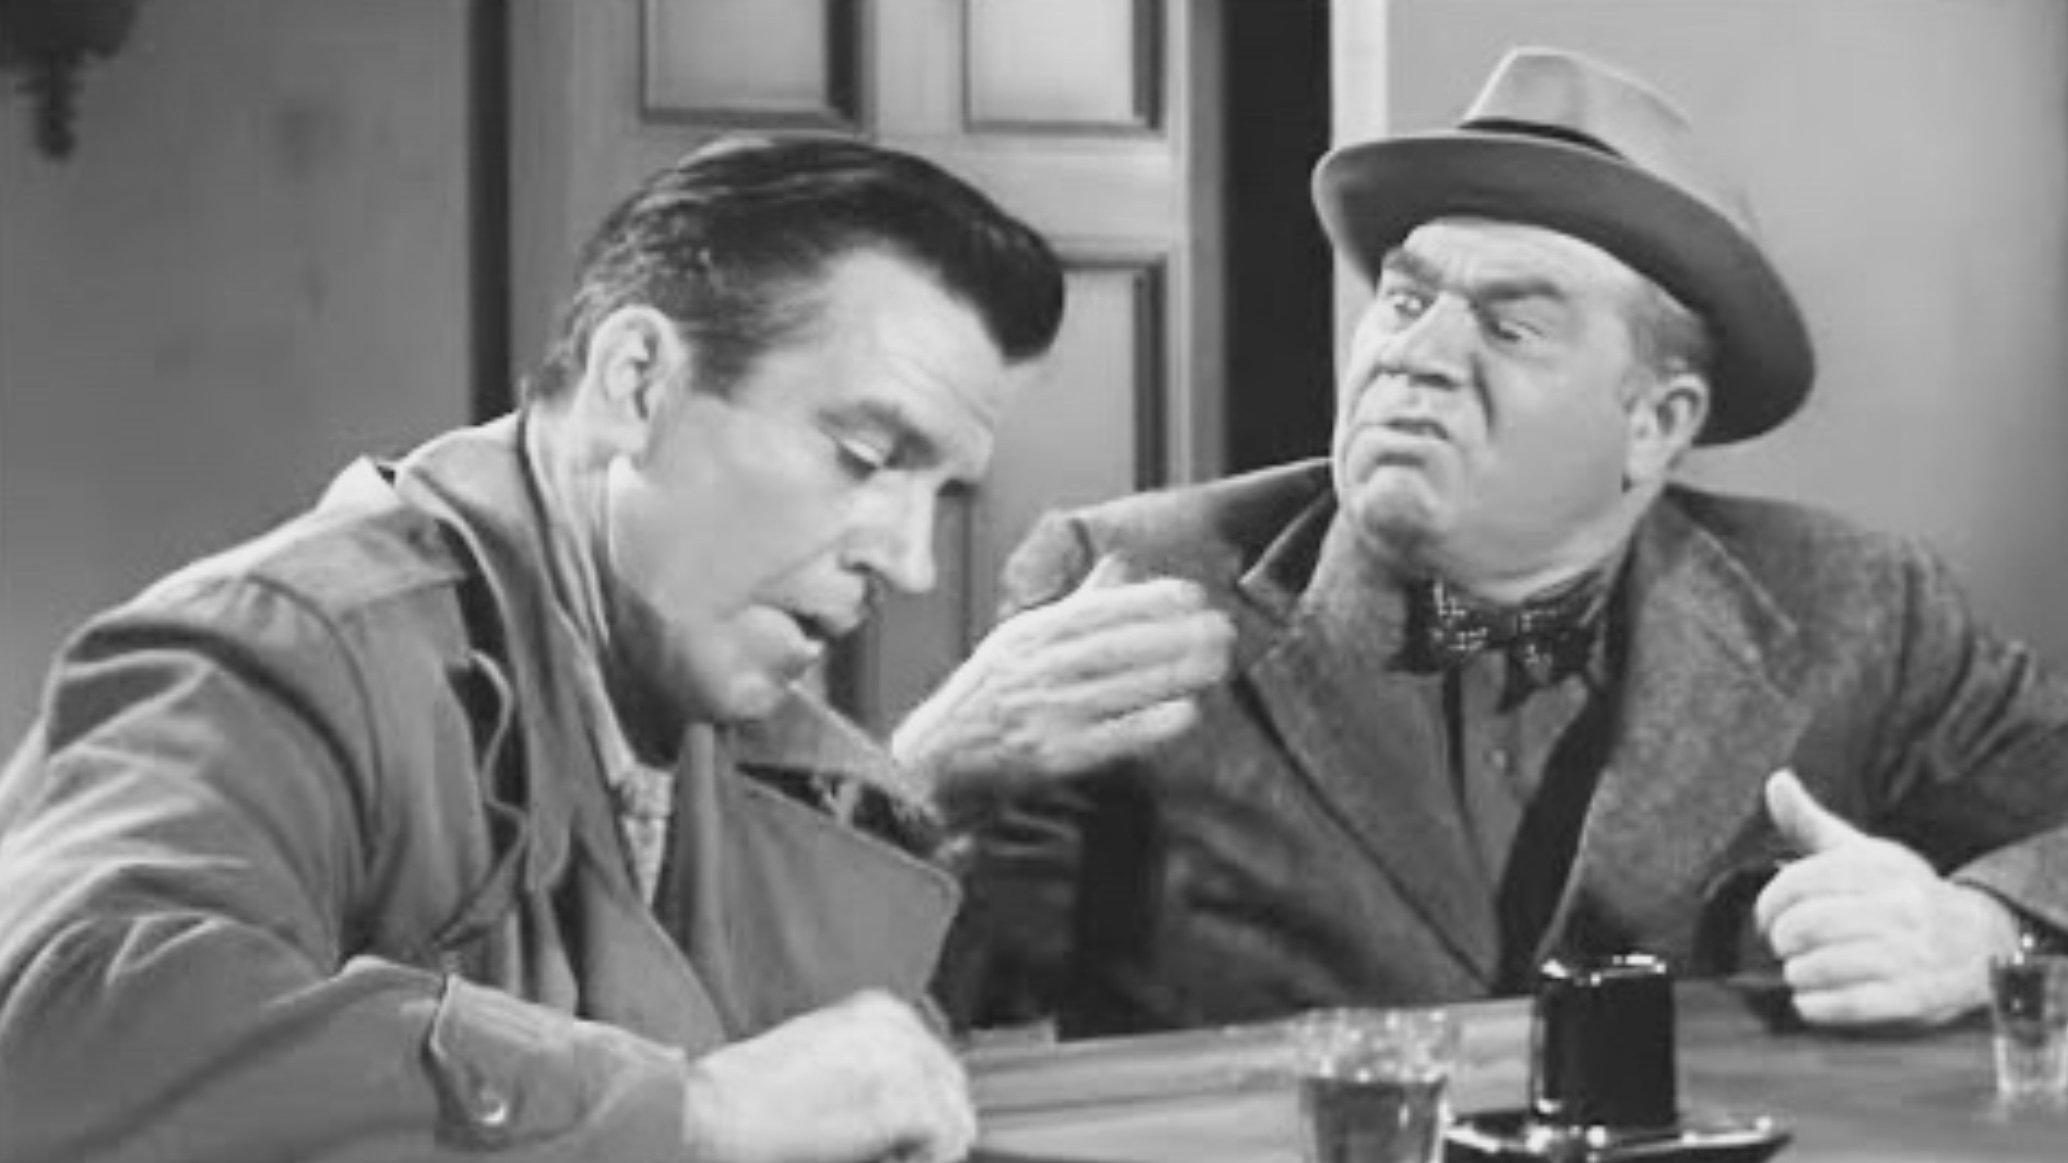
Pier 23 was one of three hour-long mysteries produced by Lippert Productions for both TV and theatrical release. Each of the three films was evenly divided into two half-hour "episodes," and each starred Hugh Beaumont as San Francisco-based amateur sleuth Dennis O'Brien. In Pier 23, O'Brien first tackles the case of a wrestler who has died of a suspicious heart attack after refusing to lose a match. He then agrees to help a priest talk an escaped criminal into returning to prison.
Info
- verified Status: Released
- calendar_month Release Date: 1951-05-11
- video_camera_front Companies Sigmund Neufeld Productions
- timer Runtime: 58 Mins
- star Rating: 5.2 / 10
- favorite Likes: 8 Likes
- info IMDB ID tt0043920
- visibilityViews: 13 views
-
starUser Ratings:
image Images
smart_display Cast

Hugh Beaumont
Dennis O'Brien

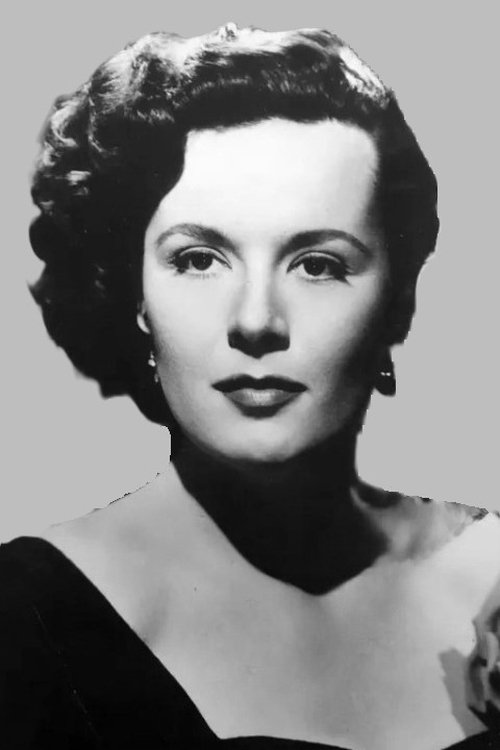
Ann Savage
Ann Harmon

Edward Brophy
Prof. Shicker

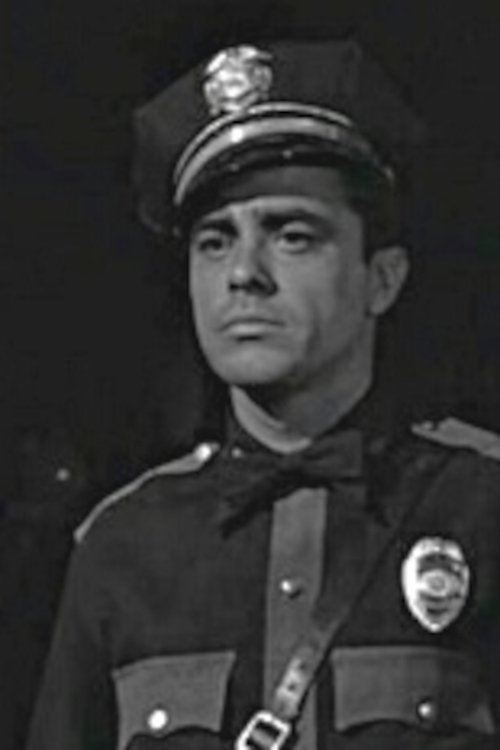
Richard Travis
Police Inspector Lt. Bruger

Margia Dean
Flo Klingle

Mike Mazurki
Ape Danowski

David Bruce
Charles Giffen

Raymond Greenleaf
Father Donovan
Eve Miller
Norma Harmon

Harry Hayden
Dr. Earl J. Tomkins

Joi Lansing
The Cocktail Waitress

Peter Mamakos
Nick Garrison
Chris Drake
Mike Greeley

Billy Varga
Willie Klingle
John Indrisano
Mushy Cavelli
Richard Monahan
Henry - Bartender

Charles Wagenheim
Lefty - Policy Man

Jack Chefe
Waiter (uncredited)

Heinie Conklin
Counter Man (uncredited)
Jack Gordon
Wrestling Match Spectator (uncredited)

Kit Guard
Drunk at Wrestling Match (uncredited)

Barry Norton
Waiter (uncredited)

Cosmo Sardo
Club patron (uncredited)
Max Wagner
Bar Patron (uncredited)
groups Crew
William Berke
Director
Herb Margolis
Story
Lou Morheim
Story
Julian Harmon
Screenplay
Victor West
Screenplay
Bert Shefter
Music
John Francis Murphy
Assistant Director
Leigh Carson
Property Master
Tom Kemp
Construction Manager
Ray Mercer
Special Effects
Alfred Berke
Wardrobe Supervisor

Stanley Price
Dialogue Coach
William Berke
Producer
Jack Greenhalgh
Director of Photography
Carl Pierson
Editor
Harry Reynolds
Editor
Harry Reif
Set Decoration
Frank Paul Sylos
Art Direction
Paul Stanhope
Makeup Artist
Glen Glenn
Sound
Jack Leewood
Associate Producer


comment Comments