
description About
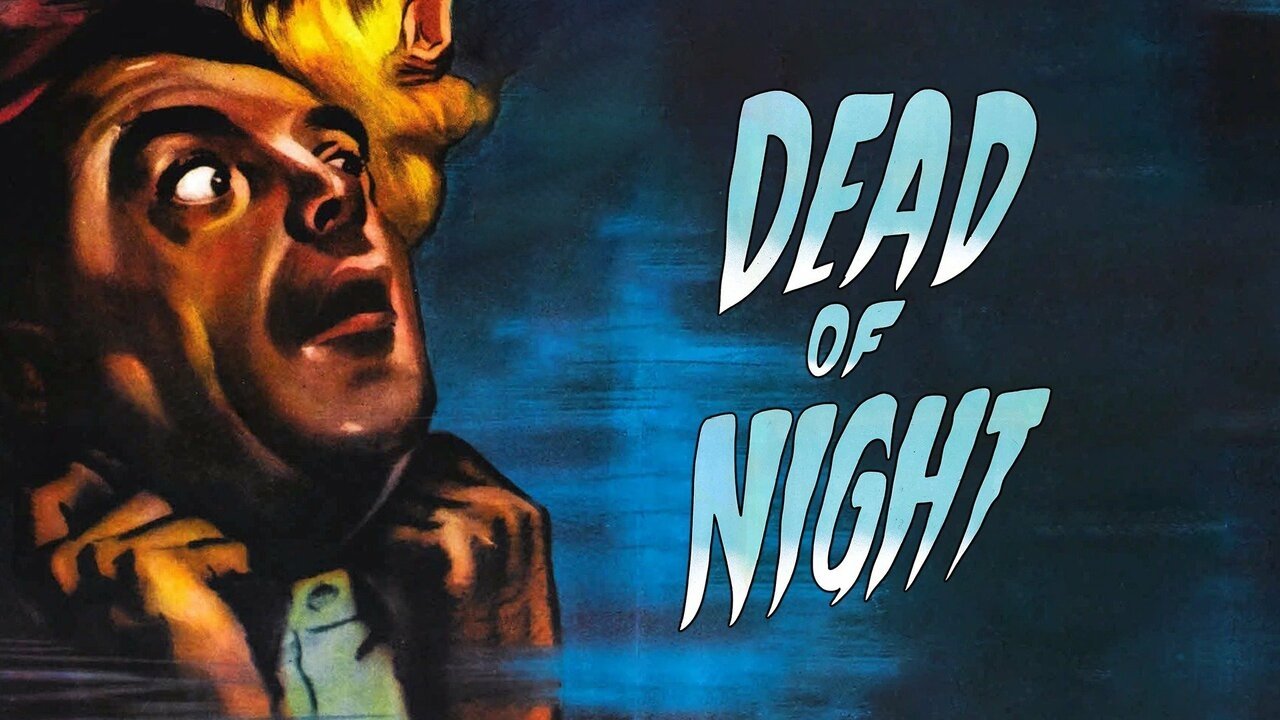
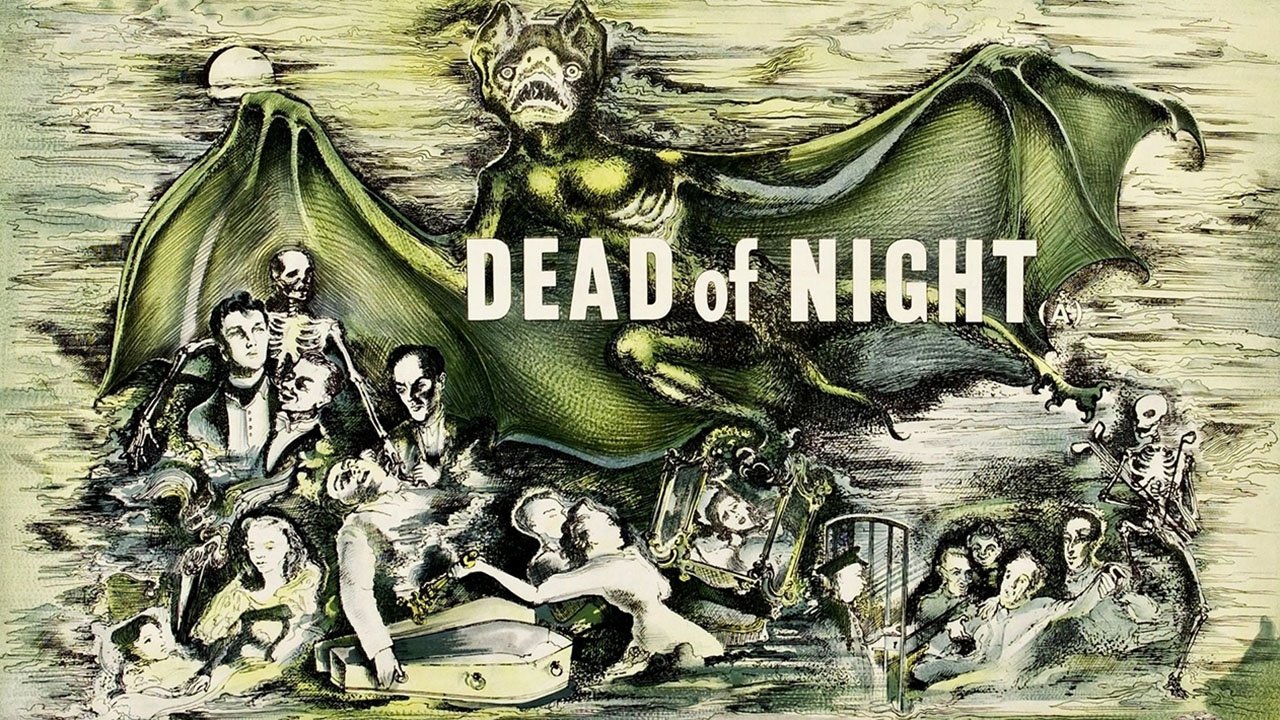
While seeking some architectural work at a country farmhouse, Walter Craig soon finds himself once again stuck in his recurring nightmare. He’s forced to listen to the bizarre tales of each guest while dreading the terrible end he knows is coming.
Info
- verified Status: Released
- calendar_month Release Date: 1945-09-09
- video_camera_front Companies Ealing Studios
- timer Runtime: 103 Mins
- star Rating: 7.2 / 10
- favorite Likes: 289 Likes
- info IMDB ID tt0037635
- visibilityViews: 9 views
-
starUser Ratings:
theaters Trailers
Other Videos
STUDIOCANAL PRESENTS: THE PODCAST - Episode 9 - Dead of Night and The Queen of Spades
Remembering Dead of Night - Feature-length Documentary
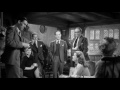
Dead of Night 1945 Trailer

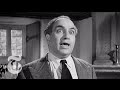
Dead of Night - Maxwell and Hugo
Dead of Night' | Critics' Picks | The New York Times
image Images
smart_display Cast

Mervyn Johns
Walter Craig (Segment "Linking Story")

Roland Culver
Eliot Foley (Segment "Linking Story")

Mary Merrall
Mrs. Foley (Segment "Linking Story")

Googie Withers
Joan Cortland (Segment "Linking Story" & "The Haunted Mirror")

Frederick Valk
Dr. Van Straaten (Segment "Linking Story" & "The Ventriloquist's Dummy")
Anthony Baird
Hugh Grainger (Segment "Linking Story" & "The Hearse Conductor")

Sally Ann Howes
Sally O'Hara (Segment "Linking Story" & "The Christmas Story")
Robert Wyndham
Dr. Albury (Segment "The Christmas Story")

Judy Kelly
Joyce Grainger (Segment "Linking Story" & "The Hearse Conductor")

Miles Malleson
Hearse Driver (Segment "The Hearse Conductor")

Michael Allan
Jimmy Watson (Segment "The Christmas Story")
Barbara Leake
Mrs. O'Hara (Segment "Linking Story" & "The Christmas Story")

Ralph Michael
Peter Cortland (Segment "The Haunted Mirror")
Esme Percy
Antiques Dealer (Segment "The Haunted Mirror")

Basil Radford
George Parratt (Segment "The Golfing Story")

Naunton Wayne
Larry Potter (Segment "The Golfing Story")
Peggy Bryan
Mary Lee (Segment "The Golfing Story")

Allan Jeayes
Maurice Olcott (Segment "The Ventriloquist's Dummy")

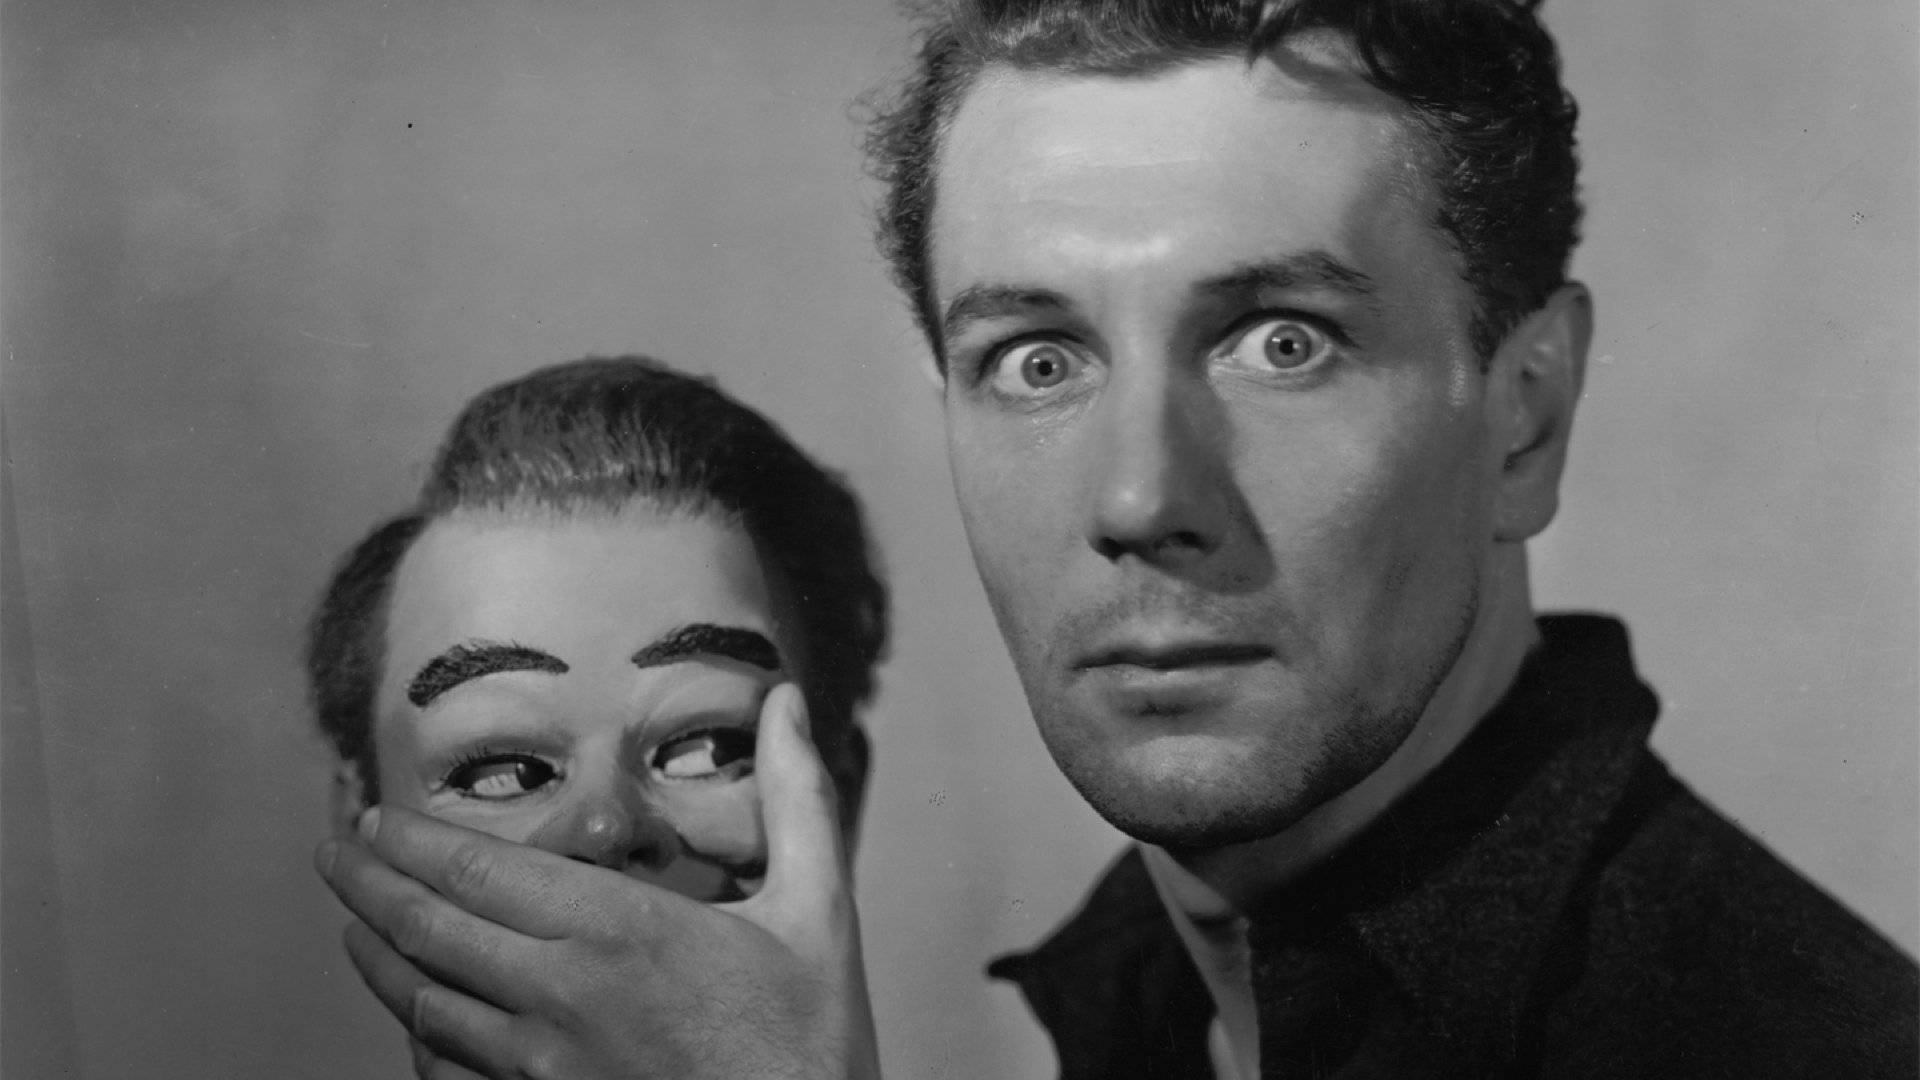
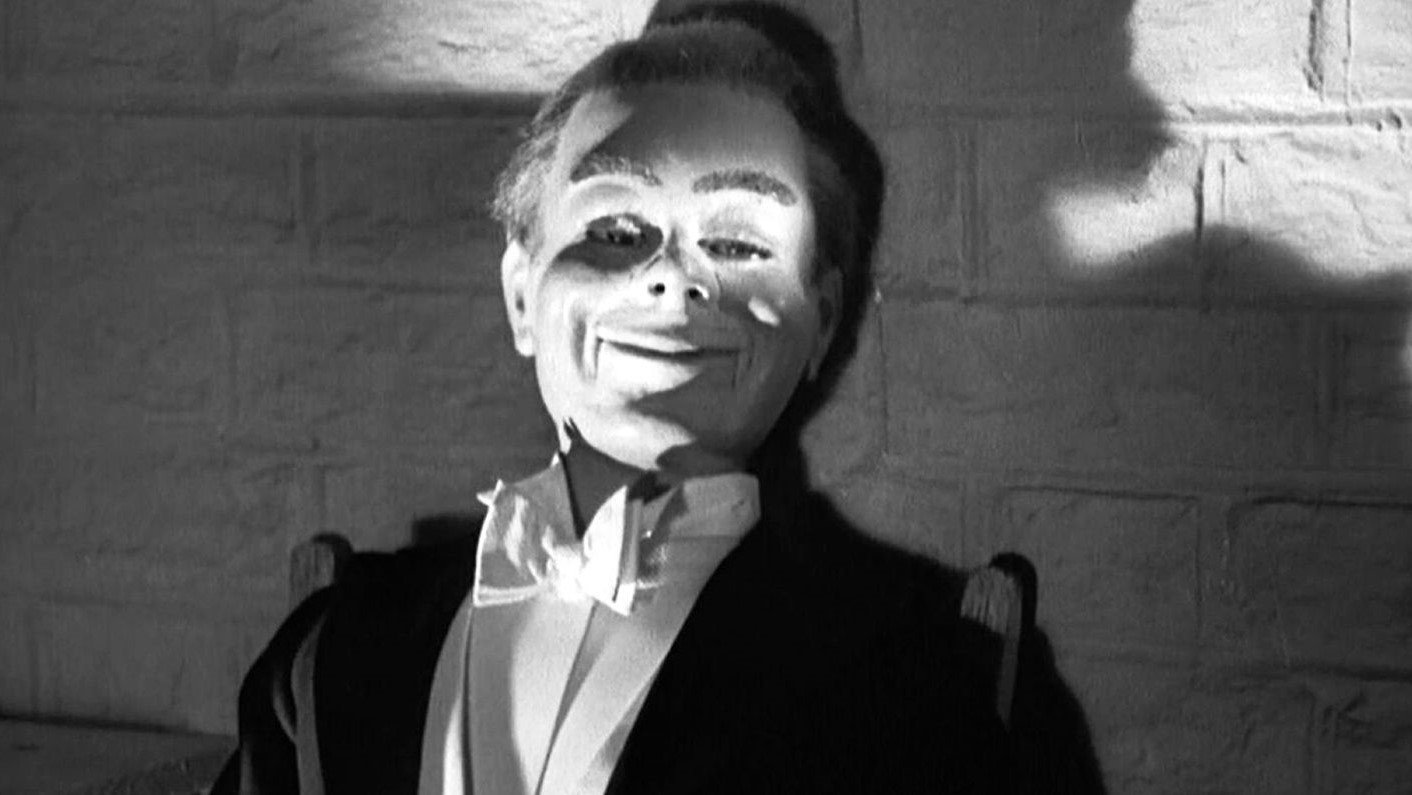
Michael Redgrave
Maxwell Frere (Segment "The Ventriloquist's Dummy")
Elisabeth Welch
Beulah (Segment "The Ventriloquist's Dummy")

Hartley Power
Sylvester Kee (Segment "The Ventriloquist's Dummy")
Magda Kun
Mitzi (Magda Kun "The Ventriloquist's Dummy")

Garry Marsh
Harry Parker (Segment "The Ventriloquist's Dummy")

Renee Gadd
Mrs. Craig (Segment "Linking Story")

John McGuire
Hugo Fitch (Segment "The Ventriloquist's Dummy") (Uncredited)

Peter Jones
Fred, Barman (Segment "Golfing Story") (Uncredited)

Paul Bonifas
French Nightclub Patron (Segment "The Ventriloquist's Dummy") (Uncredited)

Patrick Aherne
Doctor at Psychiatric Hospital (Segment "The Ventriloquist's Dummy") (Uncredited)
groups Crew

Charles Crichton
Director

Robert Hamer
Director
John Baines
Screenplay

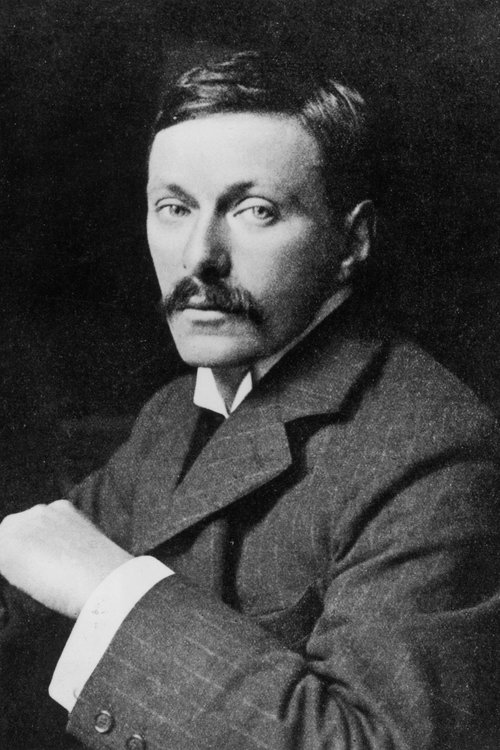
H. G. Wells
Original Story

Alberto Cavalcanti
Director

Angus MacPhail
Screenplay

Basil Dearden
Director
E.F. Benson
Original Story
John Baines
Original Story
Angus MacPhail
Original Story

Michael Balcon
Producer

Georges Auric
Original Music Composer
T. E. B. Clarke
Additional Dialogue
Douglas Slocombe
Director of Photography

Michael Relph
Art Direction
Charles Hasse
Editor
T. E. B. Clarke
Writer
Roy Gough
Still Photographer
John Croydon
Associate Producer
Marion Horn
Costume Design
Sidney Cole
Associate Producer
Heather Armitage
Draughtsman
Norman Hipwell
Second Assistant Director
Tony Rimmington
Draughtsman
Bianca Mosca
Costume Design
Jack Parker
Camera Operator
Tom Shenton
Makeup Artist
Bruce Campbell
Music Arranger
Rowland Douglas
Assistant Director
Henry Moore
Painter
A.E. Rudolph
Sound Recordist
Billy Russell
Assistant Director
Len Page
Sound Recordist
F. Thomson
Assistant Editor
Ernest Irving
Conductor
Daphne Heathcote
Continuity
Tom Otter
Boom Operator
John Winbolt
Clapper Loader
Len Wills
Draughtsman
Maurice Selwyn
Clapper Loader
Hal Mason
Production Supervisor
Nikolai Boulatoff
Boom Operator
H. Julius
Camera Operator
Seth Holt
Assistant Editor
M. Hamilton
Continuity
George Levy
Clapper Loader
Daphne Heathcote
Assistant Editor
Gwen Bartle
Continuity
Eric Williams
Sound Supervisor
E. Leverett
Assistant Editor
Claude Hudson
Third Assistant Director
P. Potter
Third Assistant Director
Jim Morahan
Assistant Art Director
Elaine Schreyeck
Continuity
Lionel Banes
Special Effects
Ronald Brantford
Unit Manager
Mary Habberfield
Sound Editor
Michael Shepherd
Focus Puller
Cliff Richardson
Special Effects
Gerry Turpin
Focus Puller
Stanley Pavey
Director of Photography


comment Comments